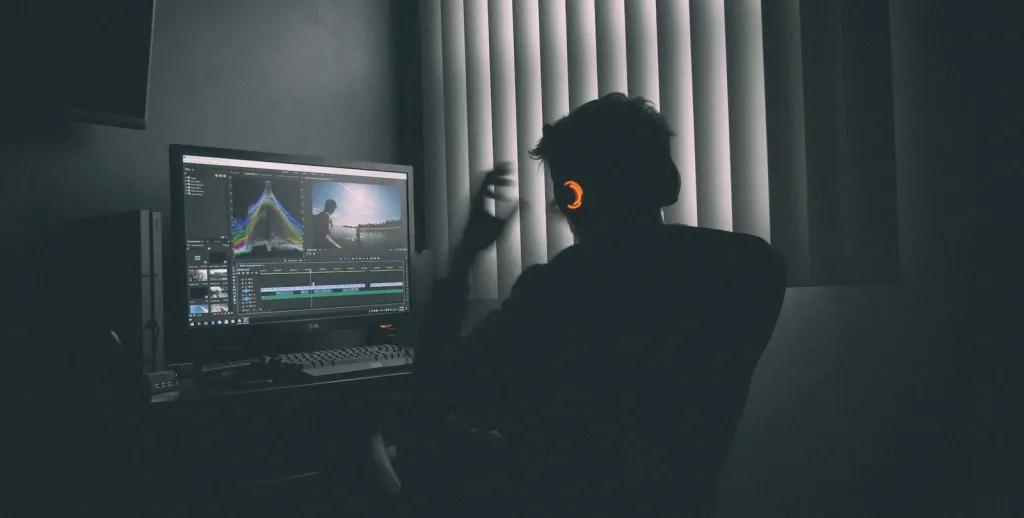
Embarking on your first video editing project can be exciting yet intimidating. This comprehensive guide is designed to simplify your introduction to video editing, ensuring you have all the tools and knowledge needed to start your journey. By following this step-by-step tutorial, you’ll learn the basic principles and techniques to create your first video project.
Step 1: Setting Up Your Workspace
Choosing the Right Software Begin by selecting a video editing software that suits your needs and skill level. For beginners, software like Adobe Premiere Rush, iMovie, or DaVinci Resolve offers a balance between functionality and user-friendliness.
Download and Install Once you’ve chosen your software, download and install it. Familiarize yourself with the user interface. Most programs have a similar layout, consisting of a timeline, a preview window, and a media library.
Step 2: Importing Your Footage
Gathering Your Media Collect all the video clips, images, and audio files you want to include in your project. It’s helpful to keep your files organized in one folder.
Importing to Your Project Open your video editing software and create a new project. Import your collected media into the project. This usually involves dragging files into the media library or using an ‘Import’ option from the menu.
Step 3: Basic Editing Techniques
Arranging Your Clips Drag and drop your clips onto the timeline in the order you want them to appear. You can adjust the length of each clip by trimming—clicking and dragging the edges to the desired in and out points.
Adding Transitions To make your video flow smoothly, add transitions between clips. Most editing software offers a variety of transitions, like fades or wipes. Use them sparingly to enhance your storytelling.
Step 4: Enhancing Your Video
Applying Effects Explore the effects your software offers. Effects can adjust the look of your clips, such as brightness and contrast, or add creative visuals like filters.
Working with Audio Ensure your video’s audio is clear and well balanced. Add background music if it enhances your video, but make sure it doesn’t overpower your primary audio. Use the audio mixer tools to adjust volume levels.
Step 5: Adding Titles and Graphics
Creating Titles Add opening titles, closing credits, and any necessary text overlays. This helps in providing context to your video or credits to contributors. Most editing programs have templates for text that you can customize.
Using Graphics If relevant, add graphics such as logos or illustrations. This can be particularly useful for branding or to emphasize certain points in your video.
Step 6: Finalizing Your Project
Review and Revise Watch your video several times and make adjustments as needed. Look for any errors in timing, transitions, or effects. It’s important to refine your video until you’re satisfied with the final product.
Exporting Your Video Once you’re happy with your edit, it’s time to export. Choose the format appropriate for your distribution platform, whether it’s for online sharing or personal use. Most software provides presets for various platforms like YouTube or Vimeo.
Saving Your Project Always save your final project file along with the exported video. This allows you to go back and make changes without starting from scratch.
Conclusion
Congratulations on completing your first video editing project! Remember, the key to becoming proficient is practice. Each project you work on will enhance your skills and confidence.
